It's time for another fun and exciting craft project at The Swarm!
If you missed last year's Easter Project, there's still plenty of time to catch up here.
All caught up? Great! Let's get into today's craft.
For this project, you will need basic crafting supplies and also a moustache. If you don't have a moustache, grow one! If you can't grow one, consider getting a hairier boyfriend or a sex change; it's probably worth it.
 This project is only seven steps and includes lots of pictures!
Somehow, I forgot to get a "before" picture of myself.
Instead, here's a picture of me at two years old, with Vincent Price's moustache added. It's basically the same thing.
 This project is mostly about removing an entire moustache from a person's face in one piece. You will need to keep all the facial hair together while removing it. Lucky for you I did lots of research so you don't have to!
I thought at first that maybe tape would work, but doubted my ability to remove the hair from the tape afterward and still keep it in some sort of recognizable shape. Glue really seemed like the only other option. There are so many glues on the market, and at least a few that are non-toxic. Only one glue seemed like a good match for this project.

Classic Elmer's Glue-All fit all the needs I had. It's non-toxic, water-soluble, has good flexibility when it's dry but not set, and dries clear.
1. So, step one. Fill your moustache with Elmer's Glue-All Glue. You want pretty complete coverage. Go a bit beyond the edges of the actual moustache.
 Here's a close-up:
Easy enough! On to step two!
2. I guess step two is actually just sitting and letting the glue dry for a while. It's going to take several hours, depending on how much glue you put in. It will almost certainly drip on you or your clothes while it is drying.
The parts with the most glue in them may not dry for days, so just wait until it's pretty well set-up and has formed enough of a shell that it will hold all the hairs together while you remove the moustache. It should look something like this:

Research for step three:
I had a full beard at the start of this project. The moustache was all I wanted to keep(by keep I don't mean on my face, I mean the only part I didn't plan on rinsing down the drain). So before I filled my moustache with glue, I did some experimenting with my beard. I think there might be a joke somewhere in here about experimenting/having a beard/moustache full of white glue. Feel free to joke, but I'm not ashamed of what I did in when I was young. Crazy shit happens when you go to community college.
So to see the best way to remove the hair from my face in one piece, I filled a couple patches of my beard with glue and tried to cut them off.
 I tried a beard trimmer, a single-edged craft-type razor blade, a double-edged razor blade, and ICE brand tempered stainless steel scissors. I was trying to cut behind the glue. I figured that way the glue would hold all the hair together, and still leave stubble exposed on the backside that I could work with. The beard trimmer was pretty well useless at any angle. The razor blades both seemed to have promise, but I'm pretty sure that using an unfettered blade at an odd angle in a space I could barely see might be bad. I think that if you could somehow get a helper to cut off your facial hair the razor blade may be the best option. But for me, the scissors were the only answer.
3. Cut off your moustache.
The method is pretty simple. Since my moustache had "tails" at the corners of my mouth, I used them as handles. Basically you should just pull outward on an edge of the moustache until the hair and glue pull out far enough that you can get behind them. Feel free to scrape up a corner of the glue from your skin before pulling. That should make it a little easier.
Once you have it started, just carefully snip the hairs that are exposed and pulled taut at the edge of the 'stache. It's kind of like cutting a clothing seam open. Go slow. It's going to take time, and it's going to hurt. I am confident that this whole step would be easier and faster if one person held the moustache taut while the other person sliced the "seam" with a razor blade.


This part was reminiscent of the film Moustache/Off:

And here is the moustache after removal:
 And the back:
More Research:
Next, we need to secure the moustache to another surface, so that we can remove the Elmer's. Part of my beard experiment was figuring out how to do this. I figured a clear, water-proof glue would be best, with a clear backing of some sort. For the back I settled on a piece of thin clear plastic packaging. The two glues I tried were standard super glue and quick set epoxy. The epoxy gave the best looking finish. The super glue seemed to bond with some of the Elmer's, leaving white hazy spots. The problem with the epoxy is the time it takes to adhere. It remains liquid much longer than the super glue. My removed moustache had an irregular curving shape to it. While it was pliable and somewhat flexible, I hesitated to just press it in a book with wet glue, and didn't want to try to clamp it in multiple places to ensure glue contact while it set. I went with the super glue.
Here are the tests:
 Epoxy
Epoxy Super Glue
4.Glue your moustache to some plastic. Put a piece of masking tape over each "tail" of the 'stache to protect it from glue. Coat the back of the moustache(the stubble mostly) with super glue, firmly press the plastic against it and hold it for a minute or two.
It might look something like this:
 It's not super obvious here, but
all the Elmer's is still in it.
5.Now you need to remove the Elmer's glue. After the super glue is set, toss your moustache into a bowl of water for a few days.

Every once in a while massage some of the glue out. Elmer's has always been water soluble, but I wonder if the "new stronger" formula is quite as soluble as the former version. While all the glue did eventually come out, it took a long time to all soften. It also left sediment in the bowl rather than just mixing with the water.

Every once in a while massage some of the glue out. Elmer's has always been water soluble, but I wonder if the "new stronger" formula is quite as soluble as the former version. While all the glue did eventually come out, it took a long time to all soften. It also left sediment in the bowl rather than just mixing with the water.

The picture is a bit dark, but here it is thoroughly rinsed:

It looked pretty good at this point other than one aspect. As mentioned earlier, the super glue left some obvious white areas behind the moustache. I think it was still damp when this photo was taken, which is probably why it doesn't show. Depending on the color of your facial hair and your choice of glues you may not have a problem with this. Since I did have a problem, I tried to fix it.
5b(optional).Toss your moustache in a bowl of coffee for a few days. This helped to darken the remaining Elmer's that had bonded with the super glue.

Unfortunately, it didn't do the job quite as well as I hoped.
5c(optional). Put your moustache in a bowl of water with a little bit of Rit Dye.
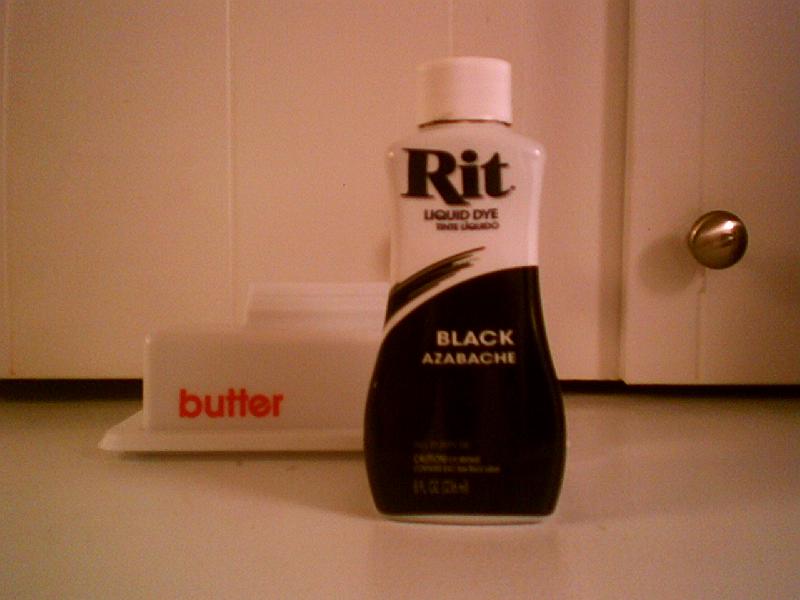
I couldn't find brown, so I used black. A few drops(or blobs, as it were) was plenty. It only took a few minutes in the dye to get the white spots darker, and I didn't want to dye the hair by accident. After all, this thing is supposed to look natural. Rinse all dye from the hair.
6. Next, trim away all the excess plastic from around the outside.
Here's mine all trimmed up:

Almost Done!
7. Lastly, glue your facial hair to a stick, wand, pole, staff, breadstick, straw, or piece of uncooked pasta. I added some rainbow colored yarn to make mine more whimsical!
The picture sucks, but here's mine on my coffee table:

And just like that, you're done!
Let's test it out to make sure it works!
 It works!
See the Facebook page for my moustache! It has pictures of many fine people looking quite dapper while wearing my moustache! The page is a little bare at the moment, but there are many photos coming in the next couple days!

This is the greatest and most wonderful thing I've ever read. Thank you!
ReplyDelete